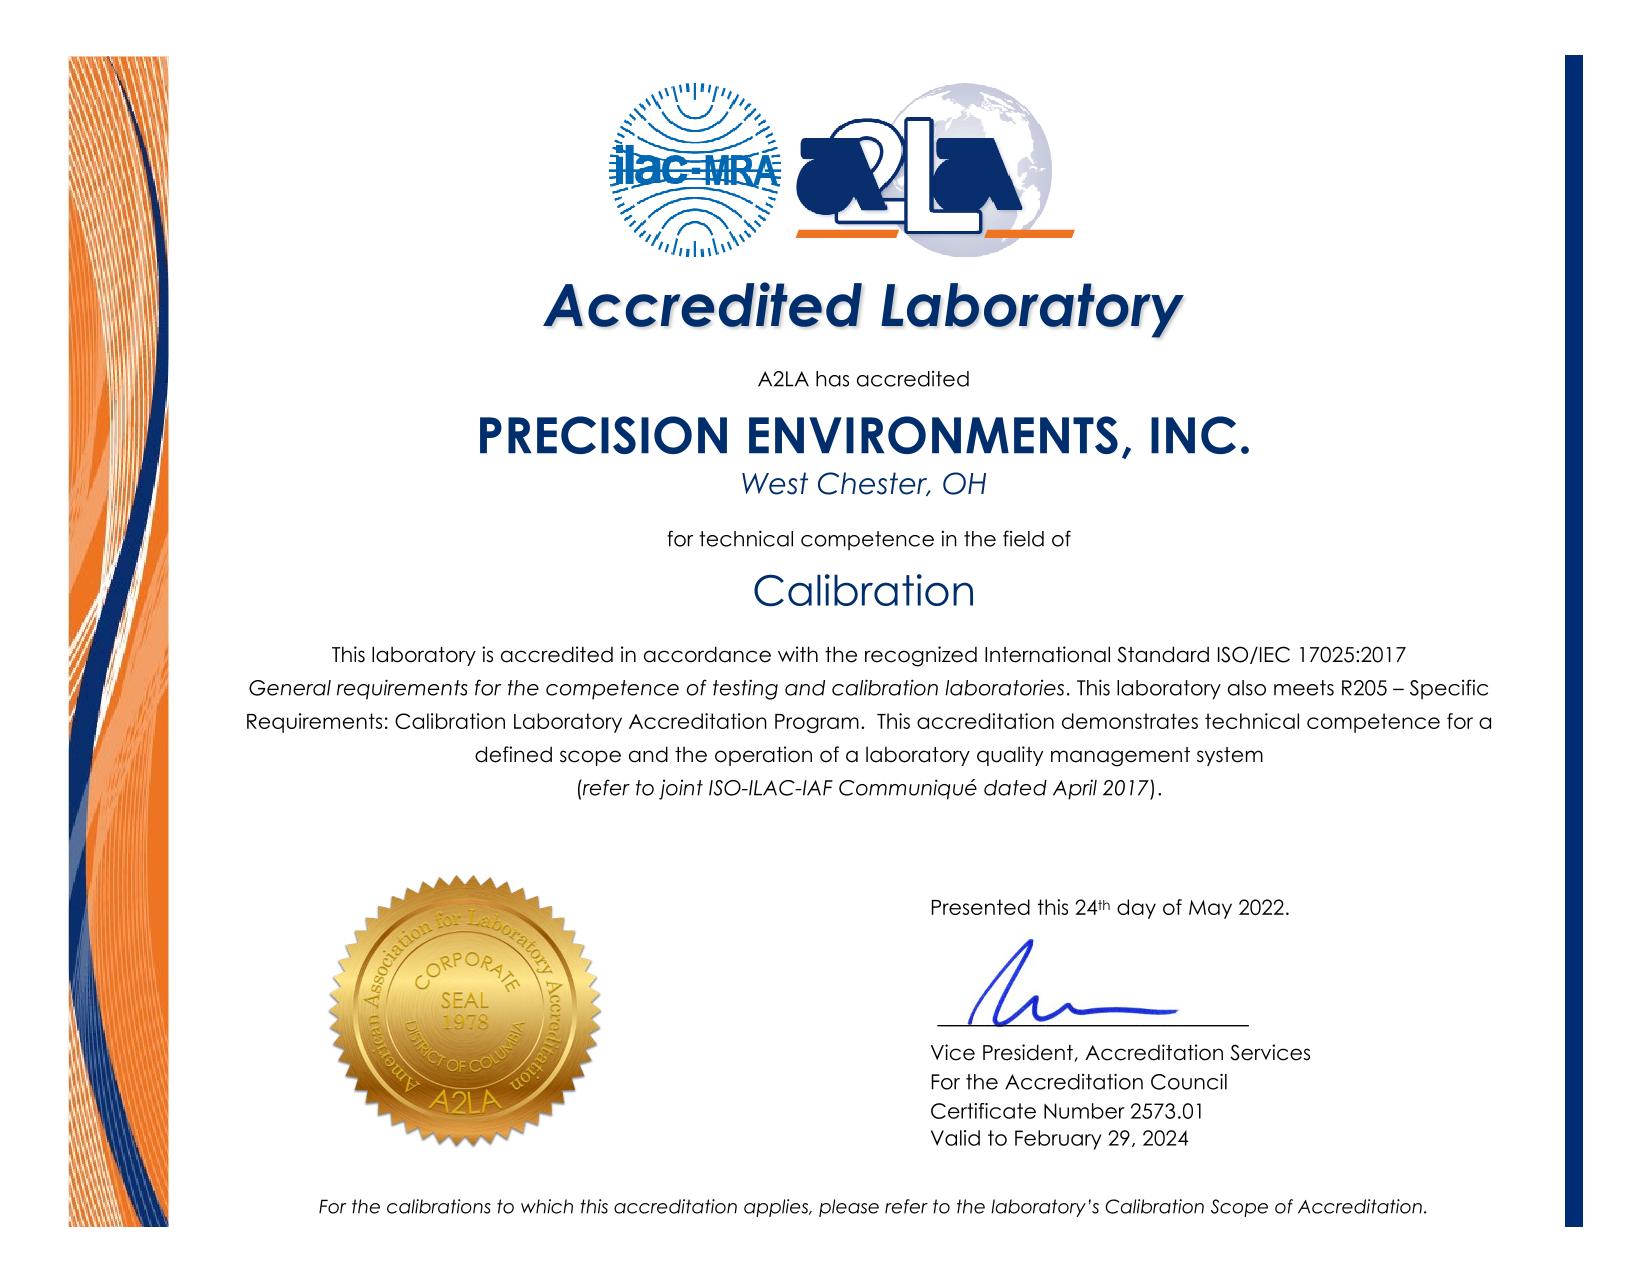
ISO/IEC 17025:2017 ACCREDITATION
Precision Environments is an A2LA-accredited calibration laboratory, certified for a wide range of environmental measurements under ISO/IEC 17025:2017.
ISO/IEC 17025 Accredited Measurement Capabilities
In recognition of the successful completion of the A2LA evaluation process, accreditation is granted to this
laboratory to perform the following calibrations (1, 5):
I. Acoustics & Vibration
| Parameter/Equipment | Range | CMC(±)2,4 | Comments |
|---|---|---|---|
| Environmental Surveys of Sound Level3 – Measure | (74 to 114) dB | 6.1 dB | Sound level meter and NCSL RP-16 |
II. Fluid Quantities
| Parameter/Equipment | Range | CMC(±)2,4 | Comments |
|---|---|---|---|
| Environmental Surveys of Air Flow3 – Measure (Direct Measure) | (500 to 5000) fpm | 42 ft/min + 4.8% of reading | ASTM D3154-14 |
| Environmental Surveys of Air Flow – Measure (Calculated Lab Air Velocity) | (1 to 25) fpm | 1.0 × (42 ft/min) + 4.8% of reading | Calculation based on room volume and duct velocity |
III. Mechanical
| Parameter/Equipment | Range | CMC(±)2,4 | Comments |
|---|---|---|---|
| Environmental Surveys of Pressure3 – Measure | (0.05 to 50) inH₂O 12 Pa to 12 kPa |
0.005 inH₂O + 3.2% of reading 1.2 Pa + 3.2% of reading |
Multimeter and NCSL RP-16 |
IV. Optical Quantities
| Parameter/Equipment | Range | CMC(±)2,4 | Comments |
|---|---|---|---|
| Environmental Surveys of Illuminance3 – Measure | (0 to 200) FC | 9.4 FC | Light meter and NCSL RP-16 |
V. Thermodynamics
| Parameter/Equipment | Range | CMC(±)2,4 | Comments |
|---|---|---|---|
| Temperature Indicating Devices – Measure and Measuring Equipment | (15 to 25) ºC | 0.0056 ºC | SPRT and black stack with temperature bath |
| Temperature Indicating Devices3 – Measure | (15 to 25) ºC | 0.036 ºC | Data logger and NCSL RP-16 |
| Environmental Surveys of Temperature3 – Measure | (15 to 25) ºC | 0.02 ºC | Data logger and NCSL RP-16 |
| Environmental Surveys of Humidity3 – Measure | (20 to 80)% RH (23 ± 10) ºC |
1.2 % RH | Humidity sensor and NCSL RP-16 |
Calibration Notes and Definitions
- 1: This laboratory offers commercial calibration service and field calibration service.
- 2: Calibration and Measurement Capability Uncertainty (CMC) is the smallest uncertainty of measurement
that a laboratory can achieve within its scope of accreditation when performing more or less routine
calibrations of nearly ideal measurement standards or nearly ideal measuring equipment. CMCsrepresent
expanded uncertainties expressed at approximately the 95 % level of confidence, usually using a coverage
factor of k = 2. The actual measurement of a specific calibration performed by the laboratory may be
greater than the CMC uncertainty due to the behavior of the customer’s device and to influences from the
circumstances of the specific calibration. - 3: Field calibration service is available for this calibration. Please note the actual measurement uncertainties
achievable on a customer’s site can normally be expected to be larger than the CMCs found on the A2LA
Scope. Allowance must be made for aspects such as the environment at the place of calibration and for
other possible adverse effects such as those caused by transportation of the calibration equipment. The
usual allowance for the actual uncertainty introduced by the item being calibrated, (e.g. resolution) must
also be considered and this, on its own, could result in the actual measurement uncertainty achievable on
a customer’s site being larger than the CMC. - 4: The type of instrument or material being calibrated is defined by the parameter. This indicates the
laboratory is capable of calibrating instruments that measure or generate the values in the ranges indicated
for the listed measurement parameter. - 5: This scope meets A2LA’s P112 Flexible Scope Policy
Official A2LA Accreditation Certificate

Request a Custom Project Assessment
LET´S DISCUSS YOUR NEXT
MODULAR CLEANROOM PROJECT